Why Should You Choose Natural DIY Masks?
You might be wondering why you should bother making your own mask. To be honest, it is all about knowing exactly what goes on your face. Many store products have harsh chemicals that might irritate your skin more. That is pretty much the last thing you want.
When you use natural stuff, you get vitamins and antioxidants directly from the source. Also, it is much cheaper. Personally, I love saving money while also taking care of my skin.
1. Honey and Lemon Brightening Mask
I think it is one of the most effective ways to lighten dark spots. Honey is a natural humectant, which means it keeps moisture in. Lemon juice acts like a natural bleach because of the citric acid.
What You Need
1 tablespoon of raw honey
1 teaspoon of fresh lemon juice
How to Make It
First, grab a small bowl. Mix the honey and lemon juice together until it is smooth. You might want to use a brush to apply it so it does not get messy. Spread a thin layer over your clean face.
Why It Works
The lemon helps break down the dead skin cells that hold the dark pigment. Meanwhile, the honey makes sure your skin does not get too dry. It is a perfect balance. Just be sure to use it at night since lemon makes you sensitive to the sun.
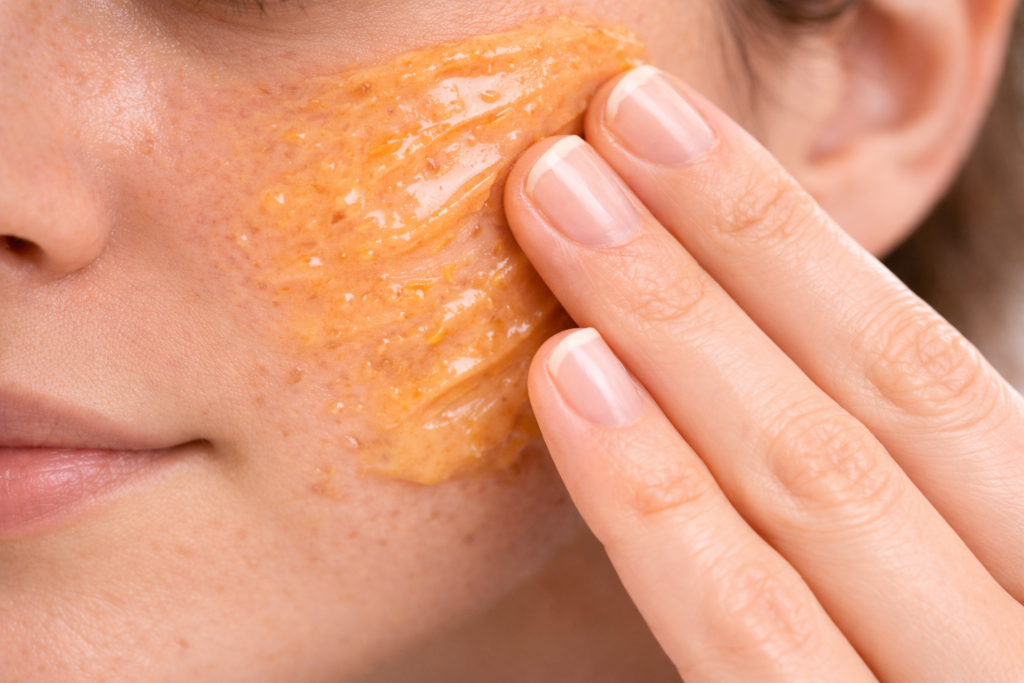
2. Turmeric and Yogurt Glow Mask
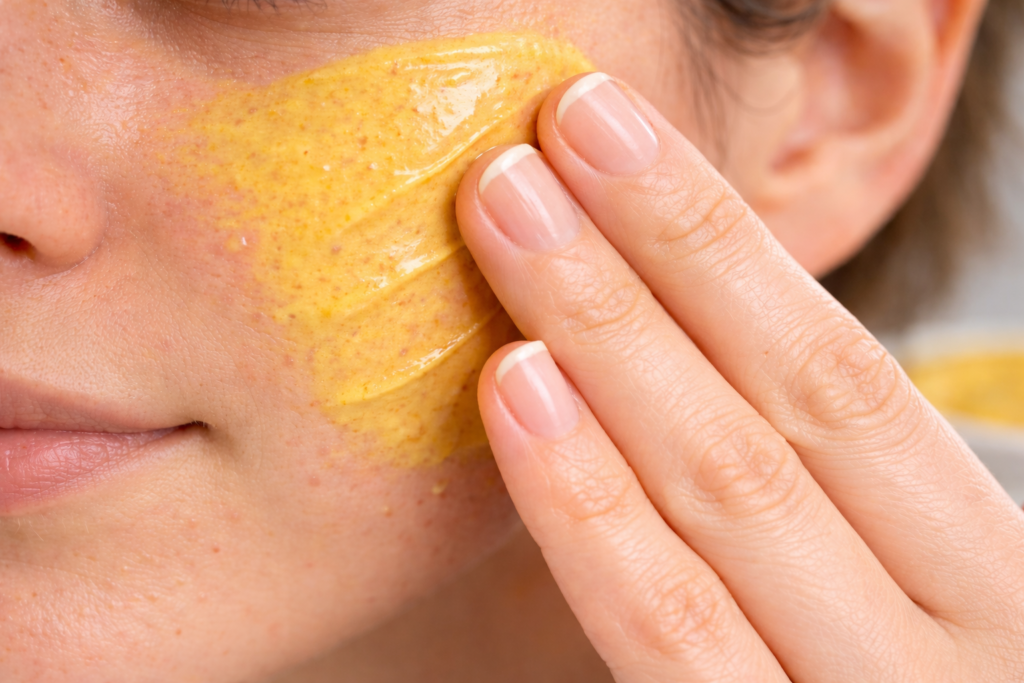
Have you ever tried turmeric? It is not just for cooking. This bright yellow spice is amazing for redness. When you mix it with yogurt, you get a mask that soothes and brightens at the same time.
What You Need
1 tablespoon of plain yogurt
Half a teaspoon of turmeric powder
How to Make It
Mix these two together until you see a bright orange paste. Apply it to your face but avoid your eyes. Let it sit for about ten minutes. Then, wash it off with warm water and a soft cloth.
Why It Works
Yogurt has lactic acid. This acid is very gentle and helps peel away the top layer of old skin. Turmeric helps stop inflammation. Believe it or not, this combo can make your skin look much more even after just a few uses.
3. Aloe Vera and Tea Tree Mask
If your scars are still a bit red, this is the one for you. Aloe vera is famous for healing burns, so it is great for scars too. Tea tree oil helps keep new pimples away so you do not get more scars.
What You Need
2 tablespoons of pure aloe vera gel
2 drops of tea tree essential oil
How to Make It
Stir the tea tree oil into the aloe vera gel. Make sure you do not use more than two drops of oil. It is very strong stuff. Apply it and leave it on for fifteen minutes.
Why It Works
Aloe vera has compounds that help skin cells grow faster. This means your scars fade quicker because new skin is taking its place. It feels really cool and refreshing on the skin too. I suggest keeping your aloe in the fridge for an extra cooling effect.
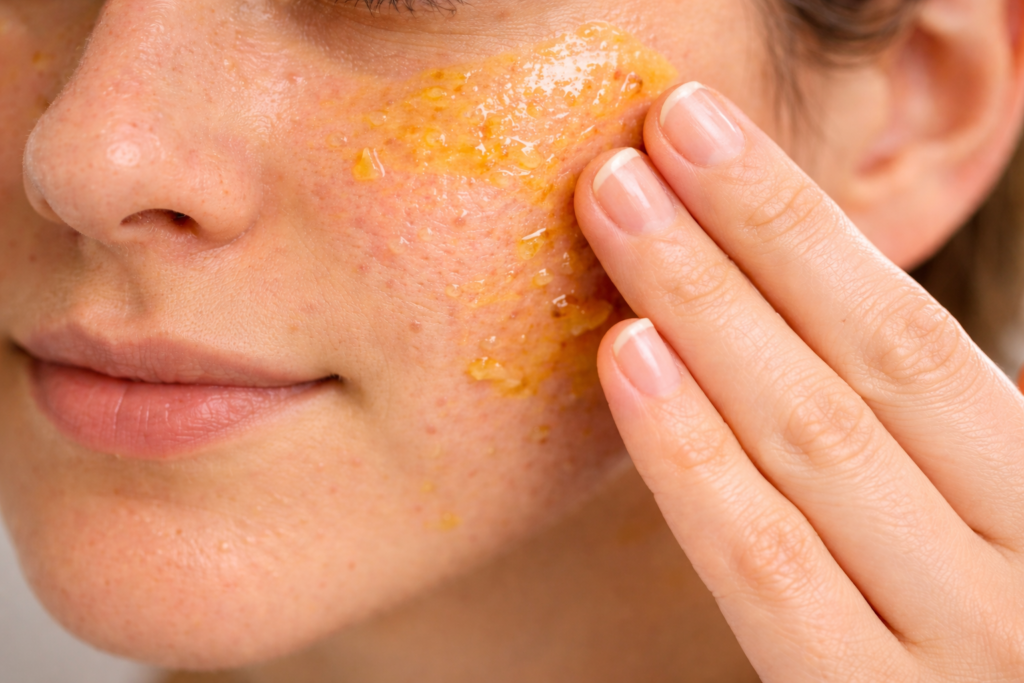
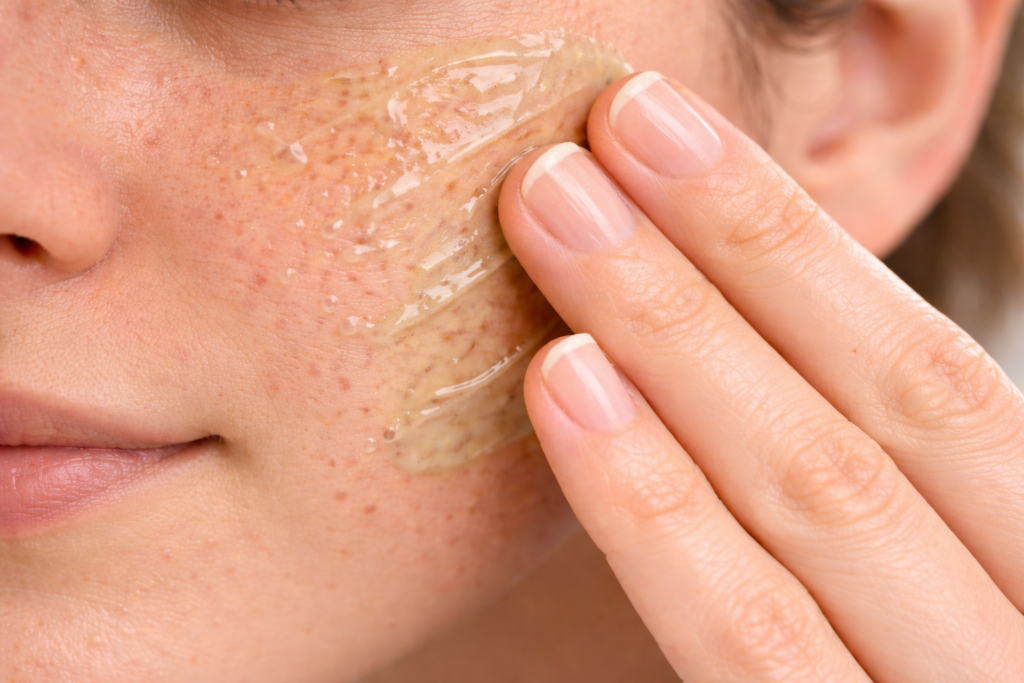
4. Papaya and Honey Mask
This sounds like a tropical treat, right? Papaya contains an enzyme called papain. This enzyme is like a little vacuum for dead skin cells. It helps dissolve the stuff that makes scars look dark and crusty.
What You Need
2 tablespoons of mashed ripe papaya
1 tablespoon of honey
How to Make It
Mash the papaya until it is a smooth mush. Mix in the honey. Put it on your face and relax for ten minutes. It might tingle a little bit, and that is totally normal.
Why It Works
This mask is basically a natural chemical peel. It removes the old, scarred skin without being as rough as a scrub. Plus, the honey keeps everything hydrated. Many people find their skin feels much softer right after washing it off.
5. Oatmeal and Cinnamon Scrub Mask
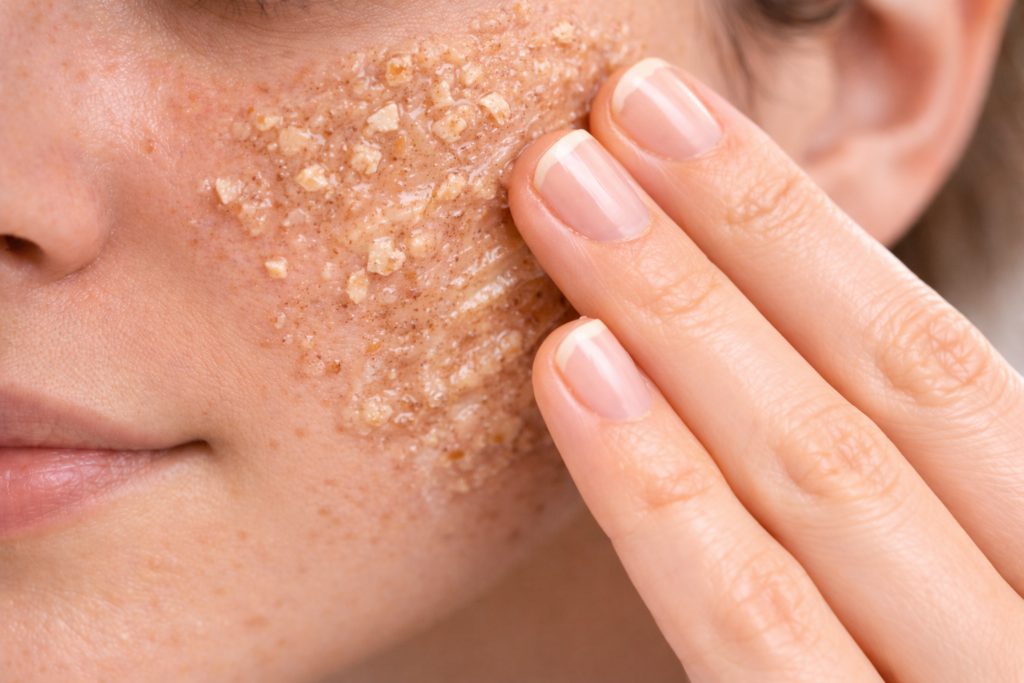
Sometimes, you need a little bit of physical exfoliation. Oatmeal is great because it is soft but still scrubs away dirt. Cinnamon helps bring blood flow to the surface, which helps the skin heal itself.
What You Need
2 tablespoons of ground oats
A pinch of cinnamon
A little bit of water to make a paste
How to Make It
Mix the oats and cinnamon. Add water slowly until it looks like a thick paste. Rub it onto your skin in gentle circles. Let it dry for five minutes before rinsing.
Why It Works
The oats soak up extra oil and calm down irritation. The cinnamon helps wake up your skin cells. Just be careful if you have very sensitive skin. Cinnamon can be a bit spicy for some people. You could try a tiny patch test first.
How to Do a Patch Test
Before you put anything all over your face, you should do a patch test. This is just a way to make sure you are not allergic. It is very simple to do and keeps you safe.
1. Pick a small spot on your jaw or the inside of your arm.
2. Apply a tiny bit of the mask there.
3. Wait twenty four hours.
4. If there is no redness or itching, you are good to go.
This is a great habit to have. It takes the stress out of trying new things. Personally, I do this with every new product I buy or make. It is just better to be safe.
FAQs
1. How often should I use an acne scar mask?
A. You should try to use a mask about two times a week. Doing it every day might be too much for your skin. Give your face time to rest between treatments.
2. Can I mix all the ingredients together?
A. It is usually better to stick to one recipe at a time. Mixing too many things might make the mask less effective. Plus, it is easier to see what is actually working for you if you keep it simple.
3. Is it okay to use these on active pimples?
A. Yes, most of these are very gentle. The honey and tea tree oil masks are actually great for active acne because they kill bacteria. Just be very gentle when you wash them off so you do not pop any pimples.
4. Will my scars ever fully disappear?
A. Many scars will fade so much that you can barely see them. It depends on how deep they are and how well you protect your skin from the sun. Most people see a huge improvement with regular care.
5. What if my skin feels tight after a mask?
A. That just means you need to put on a good moisturizer. After you wash off your mask, always follow up with your favorite lotion or face oil. This seals in the goodness and keeps your skin soft.
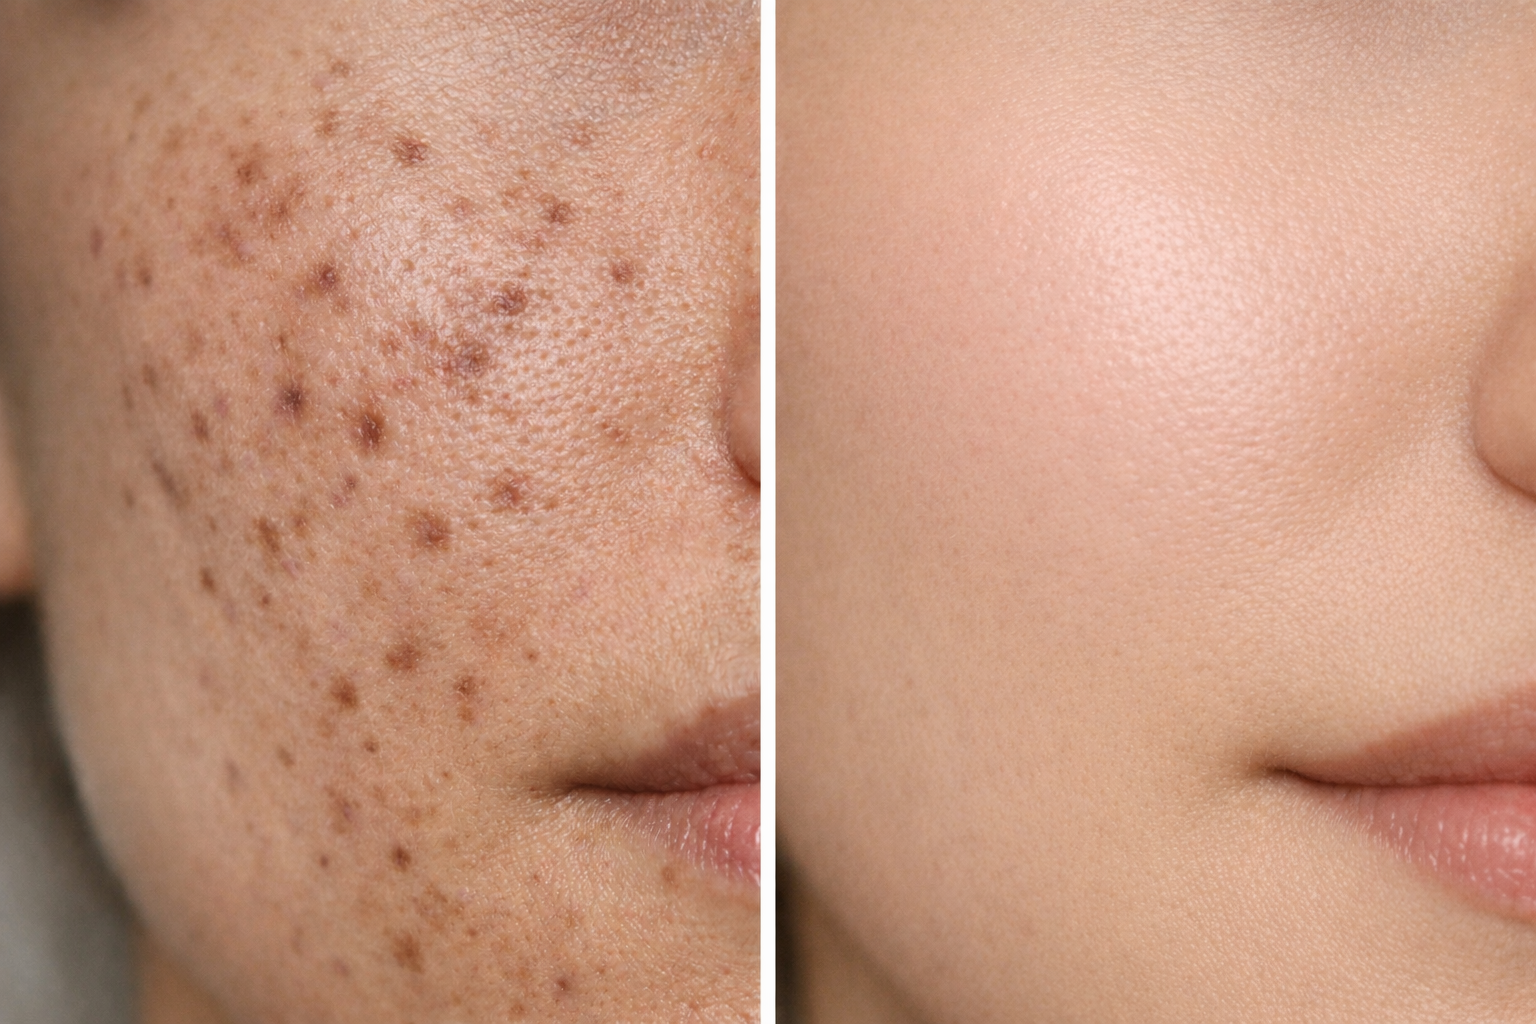
Final Thoughts
Using an acne scar mask is a great way to take control. It feels good to do something helpful for yourself. These five masks are a great place to start. They are simple, safe, and honestly quite fun to make.
I hope this guide helps you feel more confident about fading your scars. It is a journey, but you are not alone in it. We all have things we want to improve about our skin. Using these natural tips is a great way to start.